반응형
✔ Comment Component 만들기
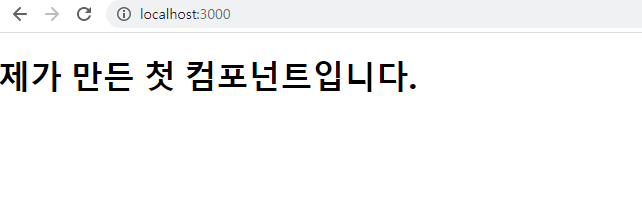
- src > chapter_05 > Comment.jsx 를 만든다.
import React from "react";

function Comment(props) {
    return (
        <div>
            <h1>제가 만든 첫 컴포넌트입니다.</h1>
        </div>
    );
}

export default Comment;
- src > chapter_05 > CommentList.jsx 를 만든다.
import React from "react";
import Comment from "./Comment";

function CommentList(props) {
    return (
        <div>
            <Comment />
        </div>
    );
}

export default CommentList;
- 화면에 렌더링하기 위해 index.js 수정

- npm start
✔ Comment Component 에 스타일 입히기
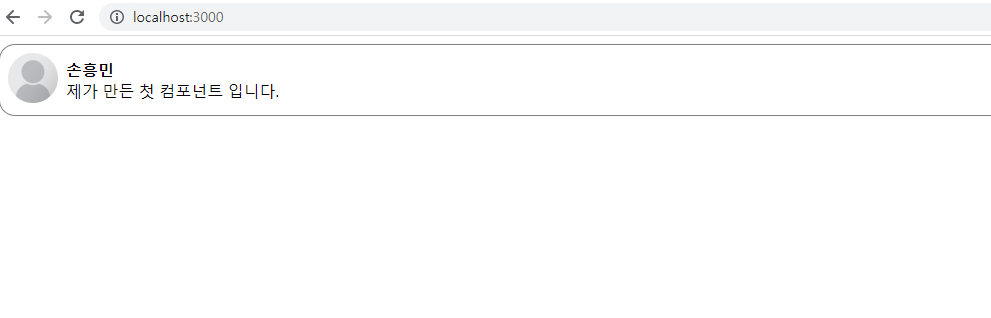
- Comment.jsx 에 CSS 스타일 작성 + Component 코드 변경
import React from "react";

const styles = {
    wrapper: {
        margin: 8,
        padding: 8,
        display: "flex",
        flexDirection: "row",
        border: "1px solid grey",
        borderRadius: 16,
    },
    imageContainer: {},
    image: {
        width: 50,
        height: 50,
        borderRadius: 25,
    },
    contentContainer: {
        marginLeft: 8,
        display: "flex",
        flexDirection: "column",
        justifyContent: "center",
    },
    nameText: {
        color: "black",
        fontSize: 16,
        fontWeight: "bold",
    },
    commentText: {
        color: "black",
        fontSize: 16,
    },
};

function Comment(props) {
    return (
        <div style={styles.wrapper}>
            <div style={styles.imageContainer}>
                <img
                    src="http://upload.wikimedia.org/wikipedia/commons/8/89/Portrait_Placeholder.png"
                    style={styles.image}
                />
            </div>

            <div style={styles.contentContainer}>
                <span style={styles.nameText}>손흥민</span>
                <span style={styles.commentText}>
                    제가 만든 첫 컴포넌트 입니다.
                </span>
            </div>
        </div>
    );
}

export default Comment;
- npm start
✔ Comment Component 에 Props 추가하기
- Comment.jsx 에 props 추가
<div style={styles.contentContainer}>
    <span style={styles.nameText}>{props.name}</span>
    <span style={styles.commentText}>{props.comment}</span>
</div>
props 를 추가하여 댓글 여러개를 만들어보겠다.
- CommentList.jsx 에 Comment Component 추가
import React from "react";
import Comment from "./Comment";

function CommentList(props) {
    return (
        <div>
            <Comment name={"손흥민"} comment={"안녕하세요, 손흥민입니다."} />
            <Comment name={"손웅정"} comment={"흥민이 월클 아닙니다."} />
        </div>
    );
}

export default CommentList;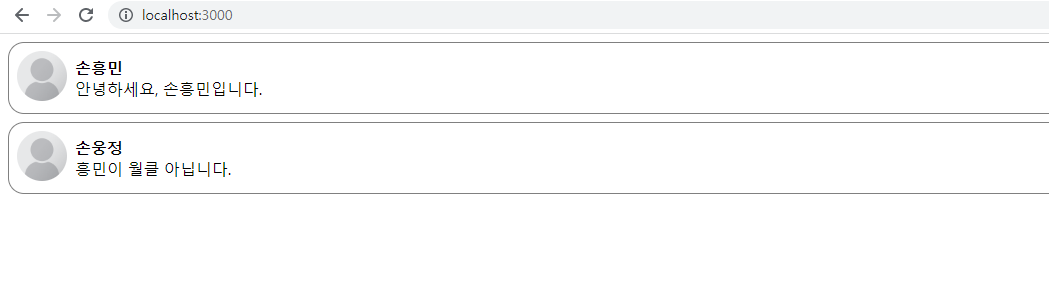
✔ Comment 데이터를 별도의 객체로 분리하기
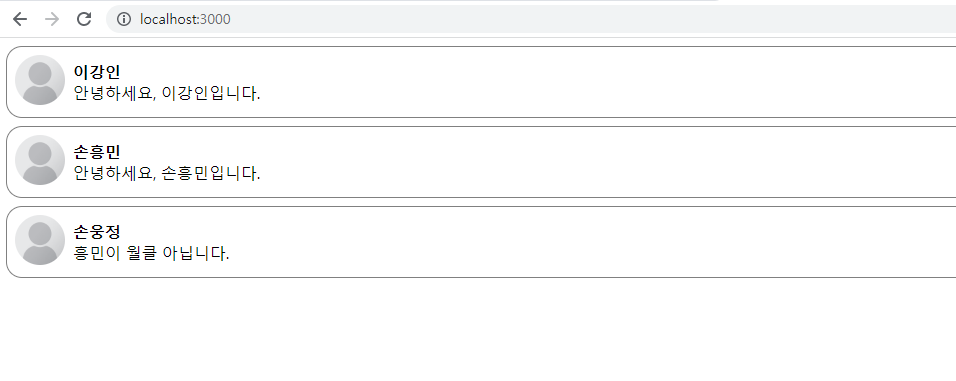
- CommentList.jsx 에 comments 라는 배열 만들기
import React from "react";
import Comment from "./Comment";

const comments = [
    {
        name: "이강인",
        comment: "안녕하세요, 이강인입니다.",
    },
    {
        name: "손흥민",
        comment: "안녕하세요, 손흥민입니다.",
    },
    {
        name: "손웅정",
        comment: "흥민이 월클 아닙니다.",
    },
];

function CommentList(props) {
    return (
        <div>
            {comments.map((comment) => {
                return (
                    <Comment name={comment.name} comment={comment.comment} />
                );
            })}
        </div>
    );
}

export default CommentList;
comments 라는 배열을 만들어서 댓글 데이터를 담고 있는 객체들을 만들어준다. 그 다음 자바스크립트 배열에 map 함수를 써서 각 댓글 객체에 대해서 comment component 를 return 하도록 코드를 짜준다.
반응형
'Front > React' 카테고리의 다른 글
| [React] State 사용하기 ( React Developer Tools ) (0) | 2023.04.17 |
|---|---|
| [React] State / Lifecycle (0) | 2023.04.14 |
| [React] Component 생성 / 렌더링 / 합성과 추출 (0) | 2023.04.14 |
| [React] Components and Props (0) | 2023.04.14 |
| [React] 시계 만들기 (0) | 2023.04.14 |


